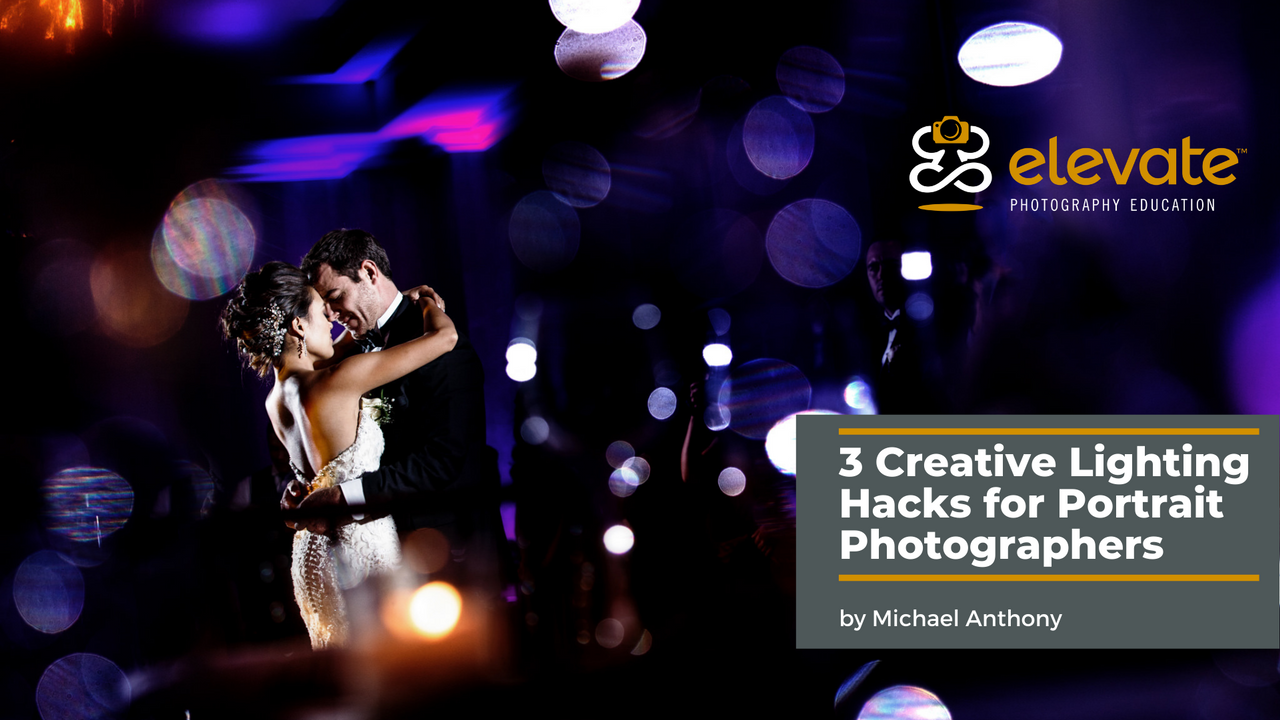
3 Lighting Hacks to Elevate Your Portraits

by Michael Anthony
Lighting is something, that I think any professional photographer can agree, can give your images a distinct look. For years, professional photographers have distinguished their studio utilizing light. In our own Los Angeles Wedding Photography Studio we have used lighting as our main point of differentiation for years. Doing this has helped our images stand out when viewed in an image search or a directory listing next to other photographers.
So that being said, over the past few years, photographers have gotten more and more skilled at lighting, and as a result, their studios have also began to find more clientele.
But there is a drawback to using off-camera flash, usually it means you sacrifice speed while out shooting with your clients. However after years, I have come to learn that there are three really easy hacks you can apply to your next shoot to create distinct images, in a short period of time.
Tip #1: Color Shifting

I first taught about this technique back in 2015…..and I have used it extensively in my work to craft unique images. Color shifting essentially allows you to change the color of your ambient light using your camera’s built-in white balance settings, while at the same time keeping the color on your subject neutral by using a corrective white balance gel to neutralize the color shift from your white balance.
If this seems confusing….stick with me for a second. Let's use an example of creating a blue color shift….this can be useful when taking photos at dusk, or in a darker environment.
First, you adjust your white balance to 3200K in your camera, or just use the tungsten setting.
You will notice when you take a photo that everything in your frame is blue. This is normal…..however it also means that your subject will be blue as well, because your flash bulb will produce a light temperature of around 5500K, similar to your camera’s daylight setting.
So to correct this, we will add a CTO (color temperature orange) gel to our light. The orange light will now appear white in camera, leaving you with blue ambient light wherever there is shadow in an image.

You can do this the other way around as well, by using a blue gel to turn your background orange.
Using any of the opposite colors on the color wheel will give you great results!

Tip #2: Create Soft Light Anywhere by Reflecting Light

When we think of bounce flash we often think about using an on-camera light indoors to create softer light. Truthfully however, you can use bounce flash outdoors as well, and find reflectors just about anywhere.
My favorite way to do this is to find a wall outdoors, and place my speed light behind my couple. I can then angle the camera away from the wall to remove the light source.

This will leave you with soft-directional light that makes for beautiful images.
You can also do this with sunlight as well, by finding anything large enough to reflect sun off, you can essentially get soft light just about anywhere. Look for any large surface being illuminated by the sun, and place your subject at a 45 degree angle to it, doing so will yield beautiful results!


Tip #3: Use Your Flash to Create Shadows or Light Foregrounds
This is another favorite trick that I love to use. Oftentimes we use our flash to illuminate our subjects, but you can easily use it to create accent lighting around your subjects as well.

Look for objects with interesting 3-dimensional patterns….you can aim your flash through them to create different results.
The closer your flash is to the object, the larger the shadows, the further away your flash is from the object the smaller the shadows.
You can also use your flash to illuminate subjects in your foreground…..during wedding receptions one of my favorite ways to do this was to light up bottles to shoot through. This can lead to beautiful results!


Lighting does not have to be complicated, there are a ton of small tricks you can use to create beautiful images without putting in a ton of work setting up multi-light setups….it’s easier than you think to create beautiful images these days and make sure that your work stands out.


