
Lightroom tricks you might not know
by Demothy Tien
Lightroom can be really confusing if you’re new or unfamiliar with the software. Its complicated user interface paired with clunky optimization can truly make Lightroom a nightmare to navigate. But it doesn’t have to be that way. There are a lot of incredibly helpful tricks that can make Lightroom a significantly more pleasant experience. The problem is these tricks aren’t clearly labeled in the software. You have to either read through lengthy manuals or figure them out for yourself. That’s why we’ve put together a small list of hidden Lightroom tricks you might not know about!
You can change your crop overlays!
Link to Reel: https://www.instagram.com/p/CIhChxXHP1o/
Composition can make or break your imagery. Bad composition simply looks amateur and unpleasant to the eye. You want to compose your images in a way that looks pleasing and leads the viewer’s eyes throughout the image. But your composition just right without some sort of guide can be a challenge. That’s why a lot of us tend to use crop overlays, both while editing, and in our cameras while shooting.
Something not a lot of people are aware of is the ability to change your crop overlays. This can be an incredibly handy tool to ensure proper composition in your images.

Simply pressing “O” on your keyboard lets you cycle between various different crop overlays such as the rule of thirds and the Fibonacci rule.

Get perfect exposure EVERY time!Link to Reel: https://www.instagram.com/p/CJY8Z5BHKas/
One of the biggest signs of an amateur photographer is improper exposure. Ensuring that you highlights aren’t overexposed and your shadows aren’t underexposed is crucial to good photography.
While it’s ideal to get it right in camera, there are situations where you might be rushing or you simply want to make sure you aren’t clipping any of your highlights or shadows when throwing on some edits. It can also be difficult to judge exposure by eye, especially if you don’t have a properly calibrated monitor. Lightroom has a handy tool that makes it easier to see where you might be clipping in the image..

Navigate to the histogram in Lightroom. You’ll notice two small triangles in the top left and top right corners. Simply click each of the buttons and Lightroom will show you exactly what parts of the image are getting clipped. Are your shadows getting crushed, or are your highlights blown out? You’ll see these show up as colored overlays. Overexposed areas will be shown in red, while underexposed areas will be blue.

Match exposures across photos
As photographers, many of us can have a tendency to take A LOT of photos. Sometimes we want to get an image just right. Maybe you’re taking a photo of a creek and want a perfect shot of the water, so we take a lot of the same photo. But editing the same photo repeatedly can be extremely tedious.
This trick can save you TONS of time when editing. Lightroom actually has a feature that lets you match exposure across multiple photos. This is great if you took a lot of photos in similar lighting, or you’re someone who likes to bracket exposure.

After you’ve made your edits on an image, select that image. Hold CTRL on your keyboard if you’re on Windows or CMD if you’re on MAC and select all your other photos.

You’ll notice the main photo will be highlighted brighter than the others so you know Lightroom is basing the exposure settings off that photo.

Then go to settings -- match total exposures.

It’s that simple. The exposure for all your photos are now matched to the main image. This feature is incredibly useful when you want to ensure consistent exposure and it can save you A LOT of time.
Change your before and after reference image
A lot of us know that pressing backslash on your keyboard lets you toggle between a before and after of your image. But did you know that you can actually change your before image? This lets you compare specific edits so you can see how a certain step affects your overall image.
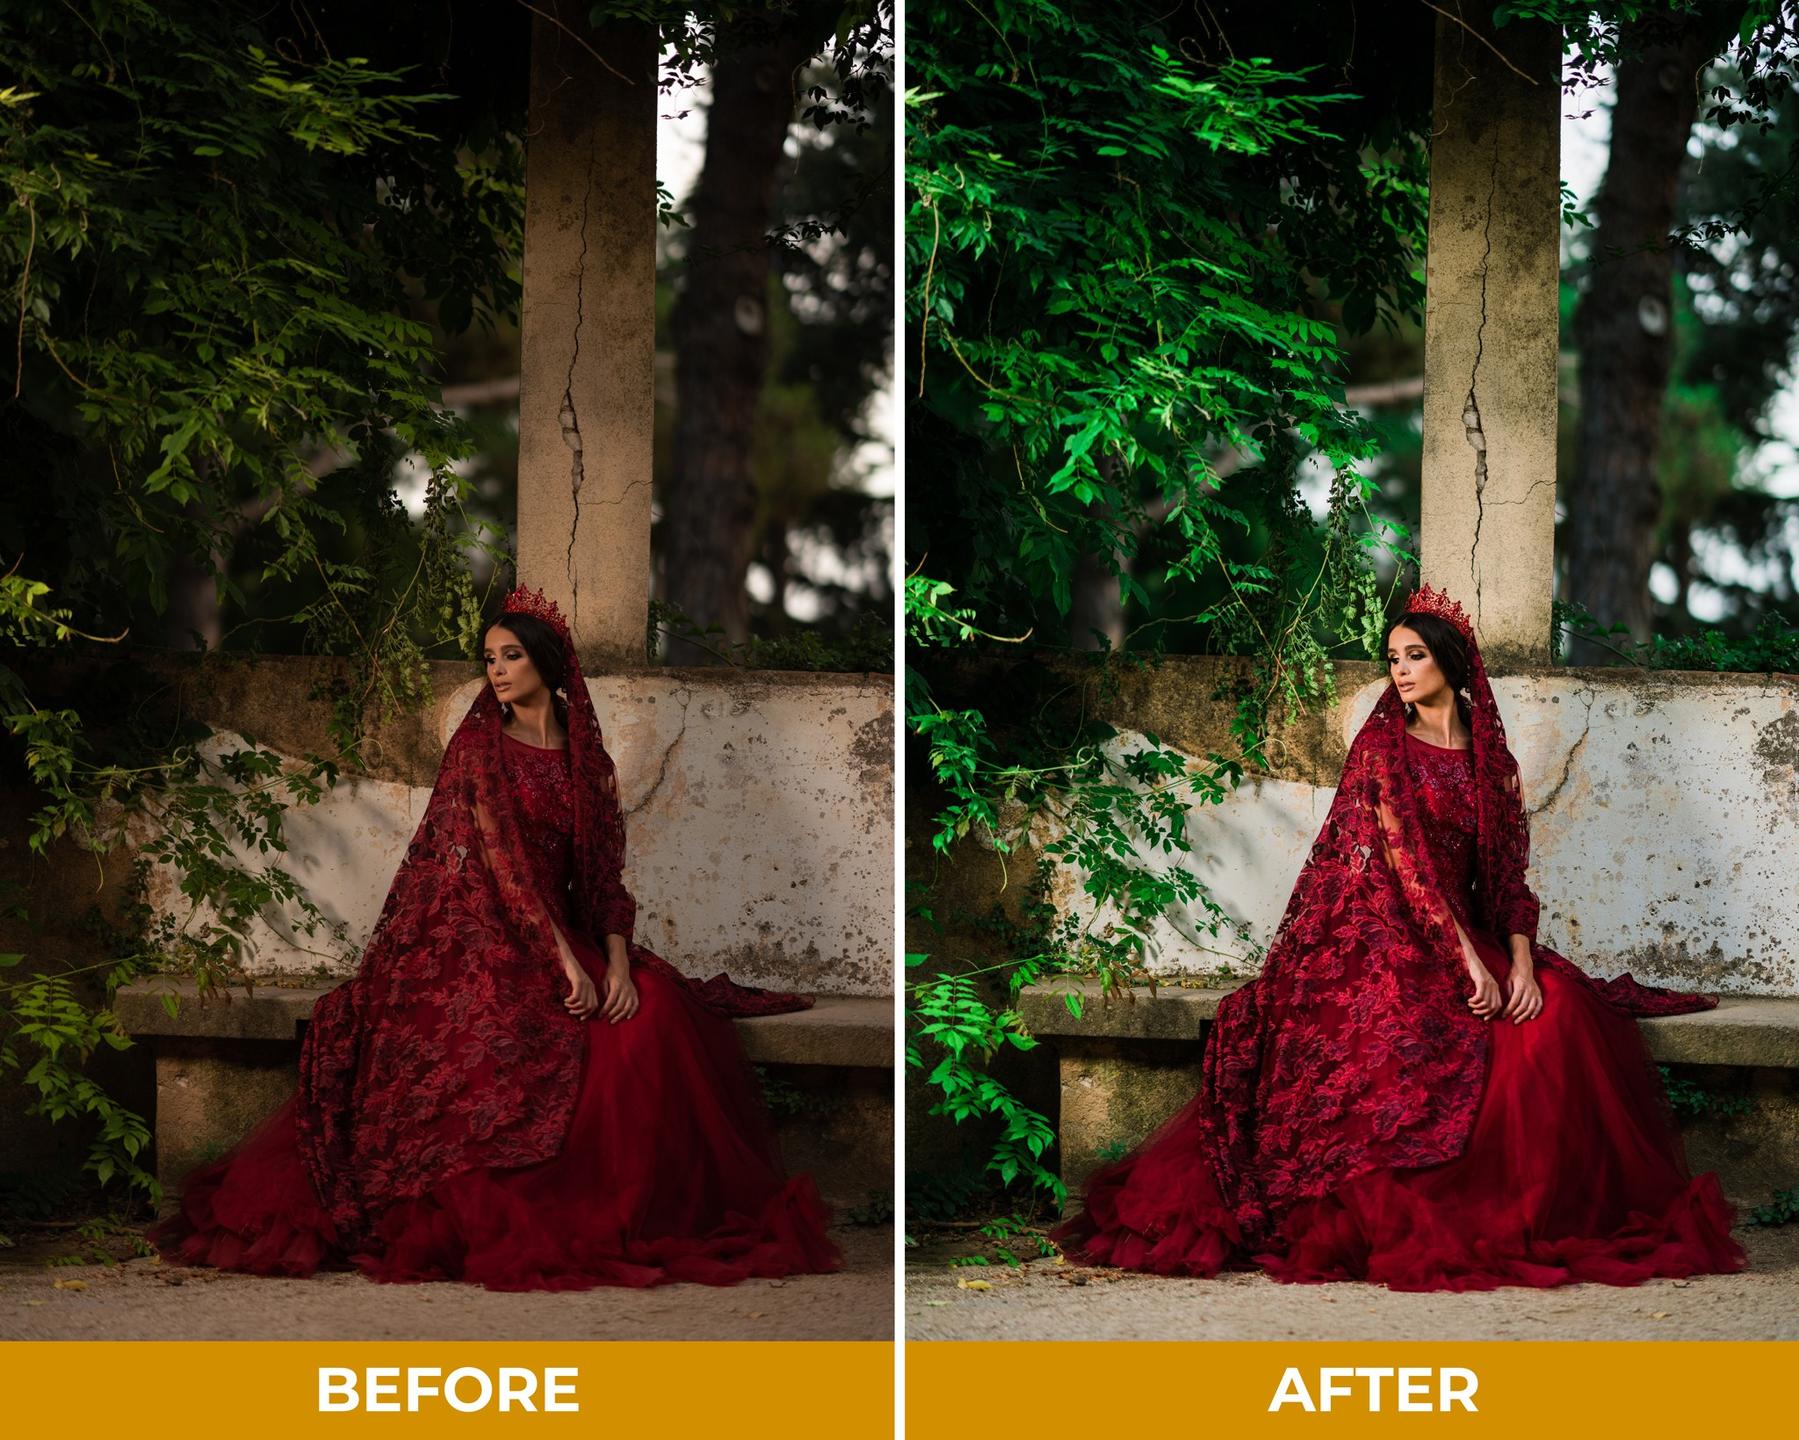
Navigate to your history panel and right click the history step you want to reference. Select “Copy History Step Settings to Before.”
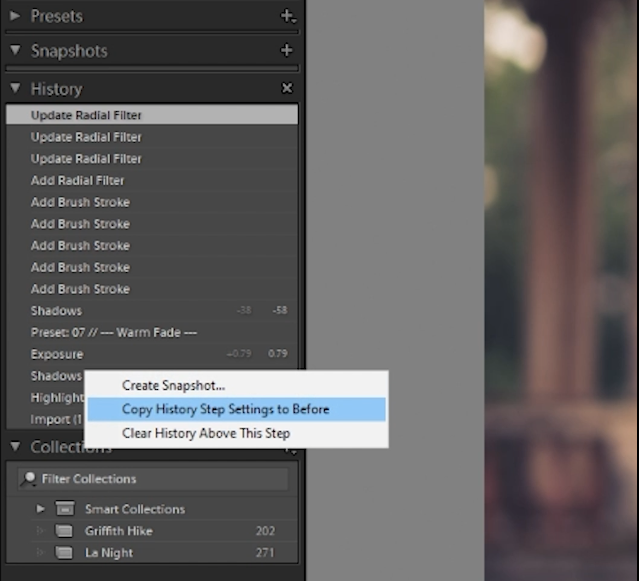
Now you can toggle between your current edit and that specific history step.
Conclusion
These tricks may seem simple, but they’re incredibly effective. They can save you a ridiculous amount of editing time in the long run as Lightroom can truly be a frustrating program if you don’t know what you’re doing. Despite this, Lightroom is a very powerful photo editing tool. Let us know which trick was most helpful to you and if you have any Lightroom tricks of your own, let us know in the comments!
Are you looking to master Lightroom? Check out our comprehensive Lightroom Masterclass!
